I have an old Acer Aspire One D255 with a broken screen that's been doing light server duty.
I've been wanting to try out Microsoft Team Foundation Server for a while so I decided it was time to update the OS from Windows 7 on my little netbook. Here are a few quick tips/suggestions:
1. Make sure you meet the minimum requirements:
You need a 1.4Ghz processor or faster (although this isn't usually enforced), at least 512 meg of Ram and 64 bit compatible CPU. All Intel Atom processors are 64 bit capable but ONLY if the bios and chipset support it. And you probably really want at least 1 gig of Ram, I had a spare 2gig stick for my Aspire One and it runs quite well.
2. Pick your flavour of Windows 2012 Server:
If you don't already know which version you want, you probably want to install Server Essentials. It's the friendliest version and doesn't require an IT team to get it up and running. If you're using really low end hardware you might have better luck with Foundation but I haven't personally put this to the test.
3. Get a physical network connection ready:
Server 2012 requires Internet access to finish the installation and WiFi support is an installable option AFTER Sever is installed (see below). In summary - you need an Ethernet cable plugged in.
4. Get a spare 8gig+ USB stick:
Assuming you're getting Windows Server through MSDN or some other partner program (we're currently using Action Pack) you'll be downloading an .IMG file. For some reason Microsoft is now re-naming their ISO files to IMG; if you have a USB burning tool that only accepts ISOs you can simply rename the downloaded image to .ISO. I used a Verbatim 8gig USB stick and the Windows 7 USB DVD Download Tool (yes it does write to USB).
http://www.microsoftstore.com/store/msstore/html/pbPage.Help_Win7_usbdvd_dwnTool
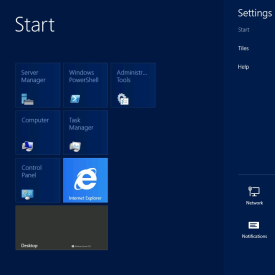
5. Enable WiFi after installation:
Go to the Control Panel, and click on "Turn Features on and Off" under "Programs". Click on "Server Selection" to select your new server, and then "Features". Scroll down and enable "Wireless LAN Service".
Other Notes:
The installation reboots quite a few times, and if appears to be doing the same steps over and over again: just be patient.
The total installation time was about 90 minutes on my netbook using 2Gig of Ram and the stock 160gig hard drive.
If you're not familiar with Windows 8 keyboard shortcuts you should learn them. Besides the obvious Windows Key and Alt-Tab, my favorite is Windows+X when in the desktop. It brings up a quick "power menu".
http://www.redmondpie.com/this-extensive-list-of-windows-8-keyboard-shortcuts-will-help-you-adapt-to-the-new-interface/